Table of Contents
The Moon Photography
By RIG
There is many type of moon photography, but we will only discuss “Full Moon” moon photography.
Tonight The Moon Will Look Like This !
The Moon
The Moon, at its least distance is around 356,400-370,400 km, and at its furthest distance is 404,000-406,700 km away from earth. It is the earth only natural satellite. Every mid of the lunar month when we look up at the night sky, if we are lucky enough, we can see a clear sky with a bright moon and surrounding stars. So, having a feeling of luck had strike you from the heavens, and wonder why not taking a photo of it as a memory.
To take a photograph of the moon requires some technique and some gadget.
The Problems of The Moon
1. A Proper Clear Sky : To have a perfectly clear sky is hard to encounter in a tropical area when rain clouds is always on the loose. It is depends on your luck. at times when the clouds is away from the clear bright full moon, it will be your time to shoot them.
2. Distance : in a clear sky, what we see of the moon is the reflective surface of the bright side of the moon that reflect the sunlight to our eyes. However no matter how close is the moon to the earth surface on a normal days, it is still 350,000km away from earth. To the naked eyes, it will appear as big white dot in the sky, To the better eyes, it will appear as bright surface with irregular grey areas. Hence to better visualization of the moon, we need either a telescope or using cameras with better zoom function. Telescope and Telescopic Zoom bring the moon closer to our eyes by optical amplification of the light reflected by the moon.
3. Exposure : Due to the distance and size it might appear on camera , it will be very tricky for a camera auto focus system to justify a good exposure of the moon. For a normal Zoom Lens, The bright body of the Moon may occupy less than 5% of the total image area. Hence, A camera with Manual exposure function is recommended. The manual exposure function will let you choose proper Shutter Speed and Aperture and ISO. The most important in moon shooting is shutter speed and ISO settings. A high shutter speed will allow the moon to freeze at under exposure setting and hence the surface (which is the main purpose of moon photography, or else a plain white moon wont be pleasing) can be clearly be seen. ISO is recommended to be as low as possible. ISO at 100 or lower is recommended (depends how you adjust the proper exposure) to reduce the chances of the noise in the image that may interfere with the moon in focus. The sensor of the camera will play a role to get a proper image, DSLR have a larger sensor than compact cameras, and obviously more light can be captured.
4. Focus : Due to its size appear to the cameras, the auto-focus will have problem in locking the target. However at times Auto-Focus Lock will lock properly on a bright body like the moon, but sometimes it require you to reduce the number of the Auto-Focus Point available to only one point and focus that point to the moon. Once the target is locked, it will be wise to switch the lens mode from AF to Manual Focus, and not to touch them again throughout the shot, to prevent the search mechanism to start again and again, unless you accidentally knock it out of focus. Some people with directly use manual focus, sometimes it appears good, but sometimes may not be sharp due to parallax error and reflective error may occur.
5. Moon Trails ? : That the problem with zoom lens. the more you zoom, the more chance of shaky hands spoil the shot. A small distance on the camera angle, a big distance in relative to the moon and the center of the frame. If available, always use a proper tripod. If shooting on a grass land, make sure the tripod is place on a good leveling . Add weight below the center of tripod to pin the tripod firmly on the ground with effective lower the center of gravity of the tripod. Otherwise, just find a leveled cement ground. If you have remote release, use them, so that you don’t shack the camera when pressing down the shutter button. Otherwise, use timer. 5 second timer will allow the camera to auto shoot without pressing the button during the shooting.
6. Small Moon ? : A perfect shot of the moon but still feels it is too small ? Well such problems can be solved if you use a bigger , longer zoom lens that bring the moon closer , or use a camera with more pixels , so that when you crop it at 100%, you can fill up some of your desktop wallpaper. Longer zoom lens is expensive. however there is some cheaper telephoto zoom lens around, like 70-300mm.
7. Stray Lights and Stray Objects ? : Well, we are not shooting aliens here. sometimes trees, buildings and street lamps can crop into the field of the frame and cause unwanted effects and glare. so choose a open space and dark areas for moon shooting.
The Outcomes
We had tried several shootings at the open area beside AIMST Cafeteria (between guys hostel and cafe) and the outcomes is quite pleasing. Other places like the open field in front of guys hostel, the open area between guys hostel and girls hostel, in front of administration building etc.. is recommended . Beware of snakes , insects and mosquito bites.. Some people may allergy to grass and insects.
Photos taken on 18th February 2011.
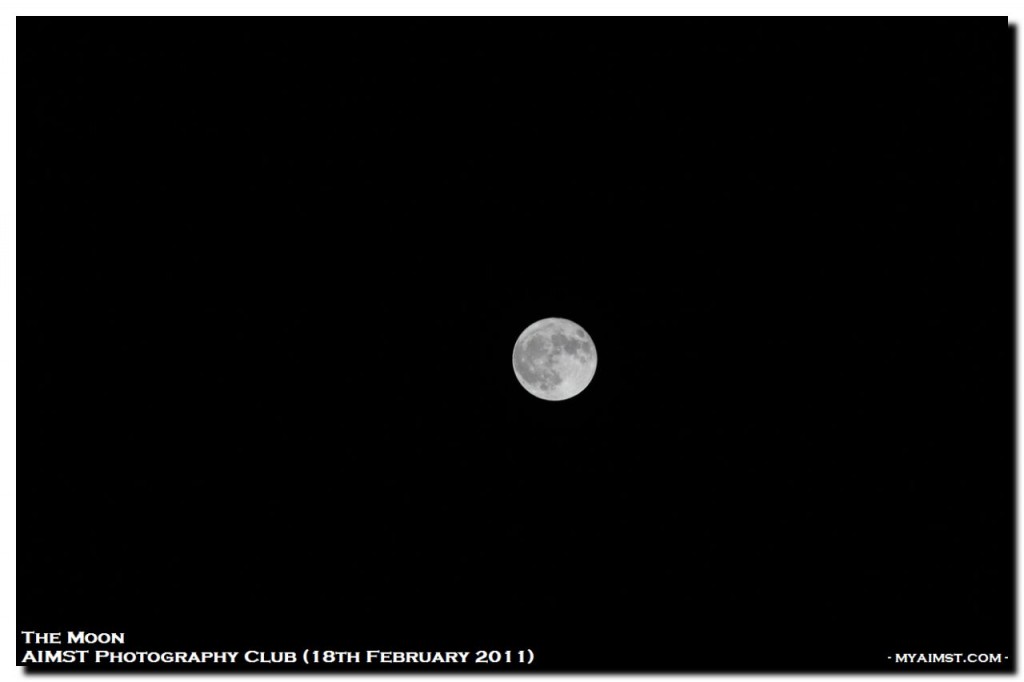
As we can see, even with Canon 60D and Canon 18-200mm lens zoom at 200mm, the moon only occupy part of the whole frame. We need to crop at 100% to get a bigger picture of it. With a limited Zoom, The 18MP sensor plays a role in getting the bigger picture.
Below is testing of exposure to get the better moon. See how the exposure affect the quality of the moon surface.( all are crop at 100%)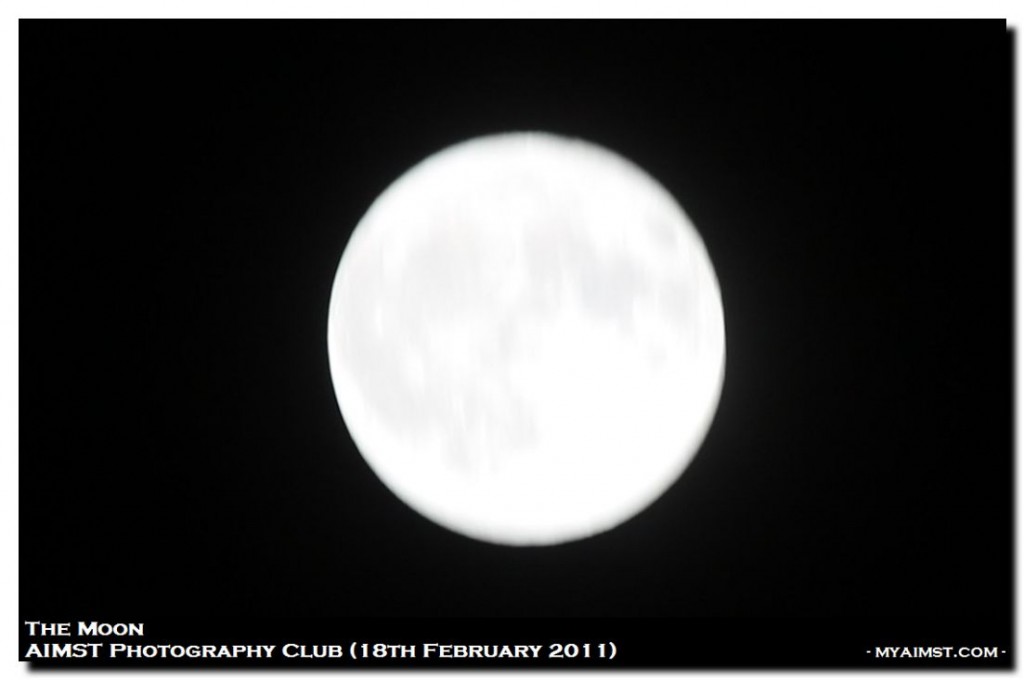
This shot is taken at f/5.6, 1/80sec, ISO-100 at 200mm. It is taken with auto exposure open. with As you can see the Moon appears as blurr white patch in dark background.
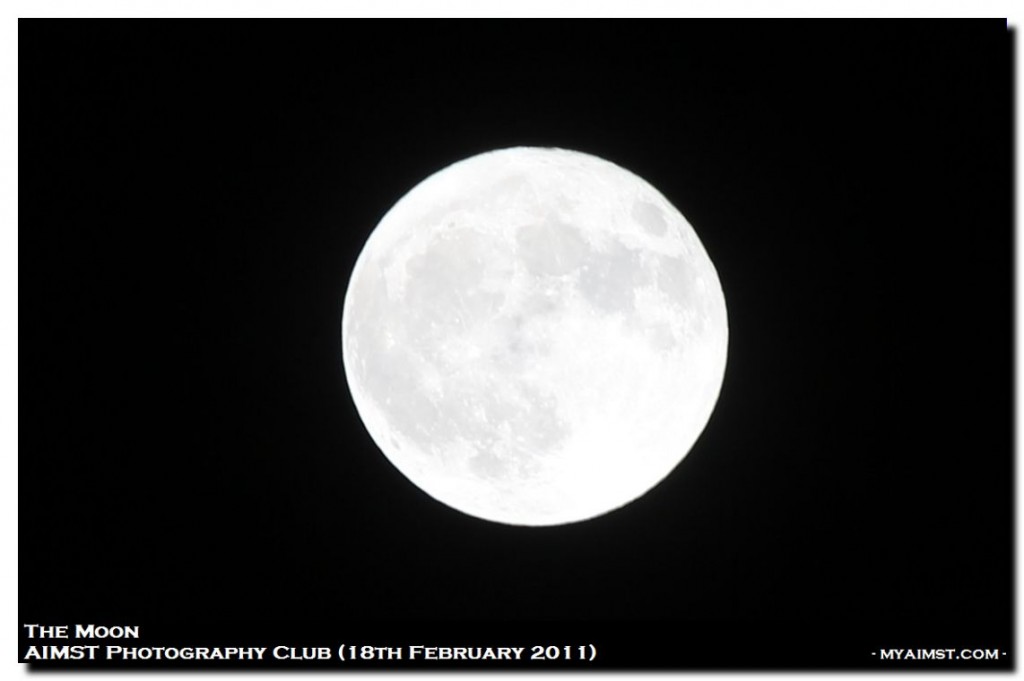
With manual settings, i push the aperture to f/7.1 others parameter remains. 1/80 sec, ISO-100, 200mm. The moon surface looks better but still appears over exposed.
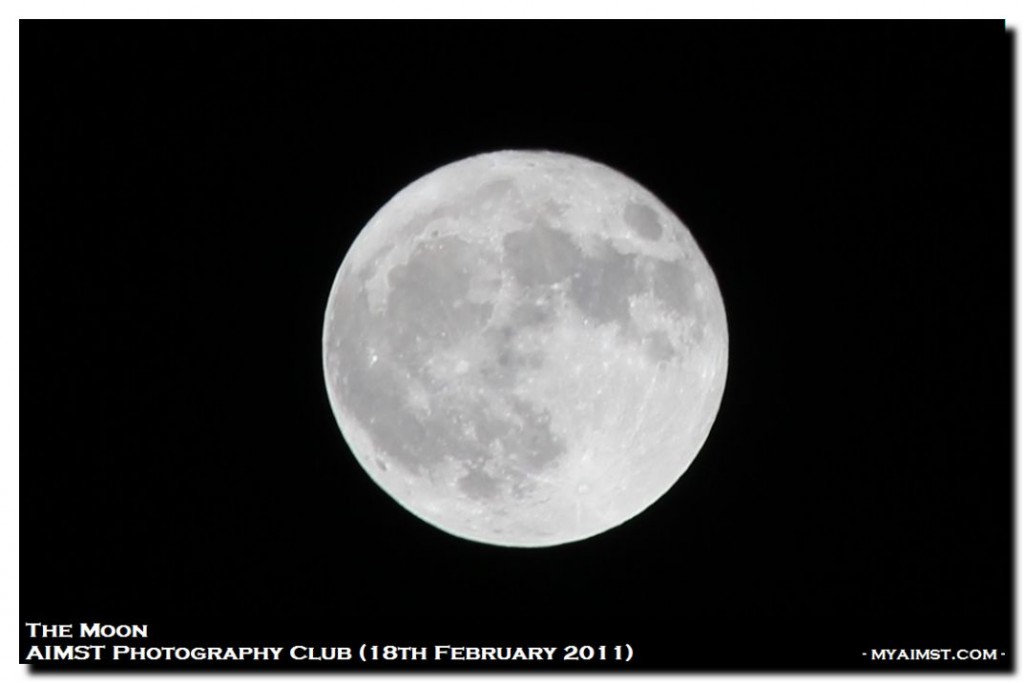
I increase the shutter speed to 1/160 sec and aperture to f/8.0 , other parameter remains at ISO-100, 200mm. The moon is darker, but the shadows is now better seen. the pits and grooves of the moons irregular surface.
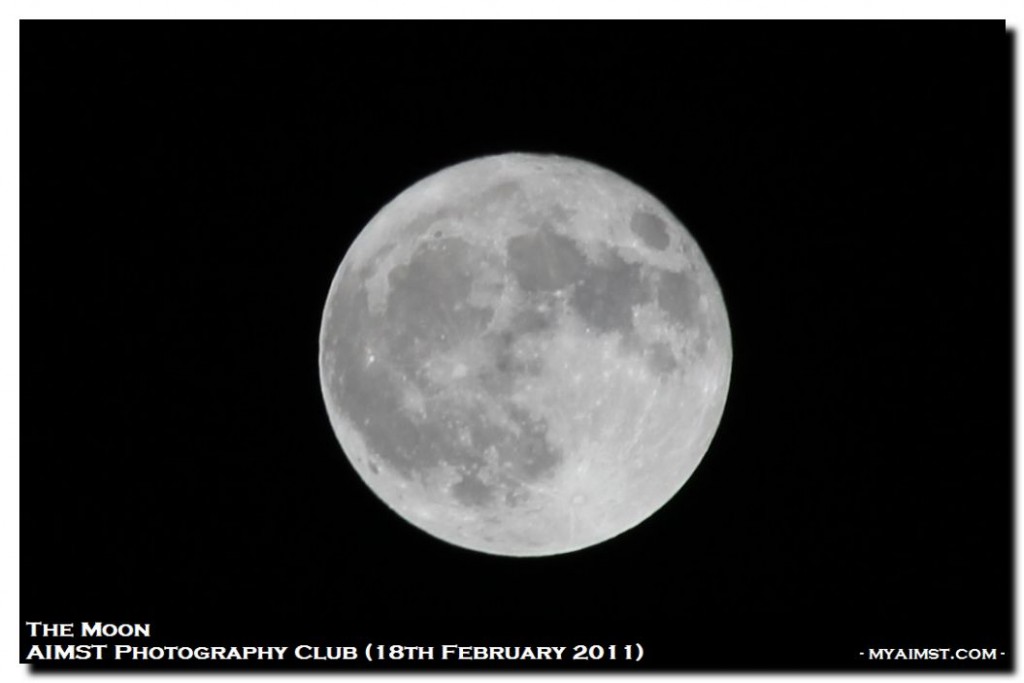
Further increase the shutter speed to 1/250 sec. other parameter remains at f/8, ISO-100, 200mm. more details of the moon is shown.
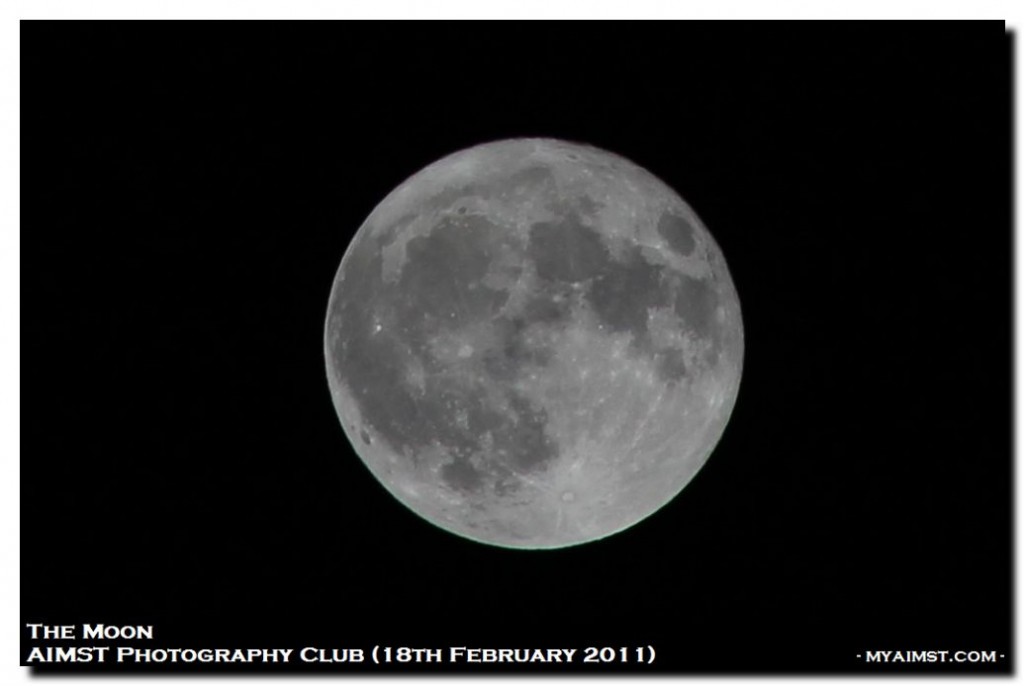
Further increase the shutter speed to 1/500 sec. Other parameter remains, f/8, ISO-100, 200mm. This is the best setings so far with this moon today. the bright and dark side is equally exposed.

Further increase shutter speed to 1/1000 sec, other parameters remains, f/8. ISO 100, 200mm. The moon is underexposed, loosing details on the darker areas, and the bright areas appears dull.
hence it is truly trial and error when come to moon shot. it depends on the condition of the skies and humidity, it depends on what angle is the reflection going on, it depends on so many factor that affects the settings that is proper for that condition. When you have a camera with manual exposure function, feel free to explore them.
The Paradox of Moon Exposure Settings
Some people may wonder why the moon shot taken a low ISO (ISO-100), High Shutter Speed (1/500 sec) and narrow aperture (f/8) , which these settings is usually used in bright day light and not at night. Well, it is known that the moon reflect Sunlight and become a bright body at night. Hence, Shooting directly at the moon means you are direct your lens at the reflection of the sun ! Hence be prepare to set your mind set that, shooting moon shot is not same as shooting at night which requires longer exposure and higher ISO.

